Your First Video Edit
This guide will walk you through trimming, cropping, and redacting your first video with SnapTrim.
Step 1: Open a Video File
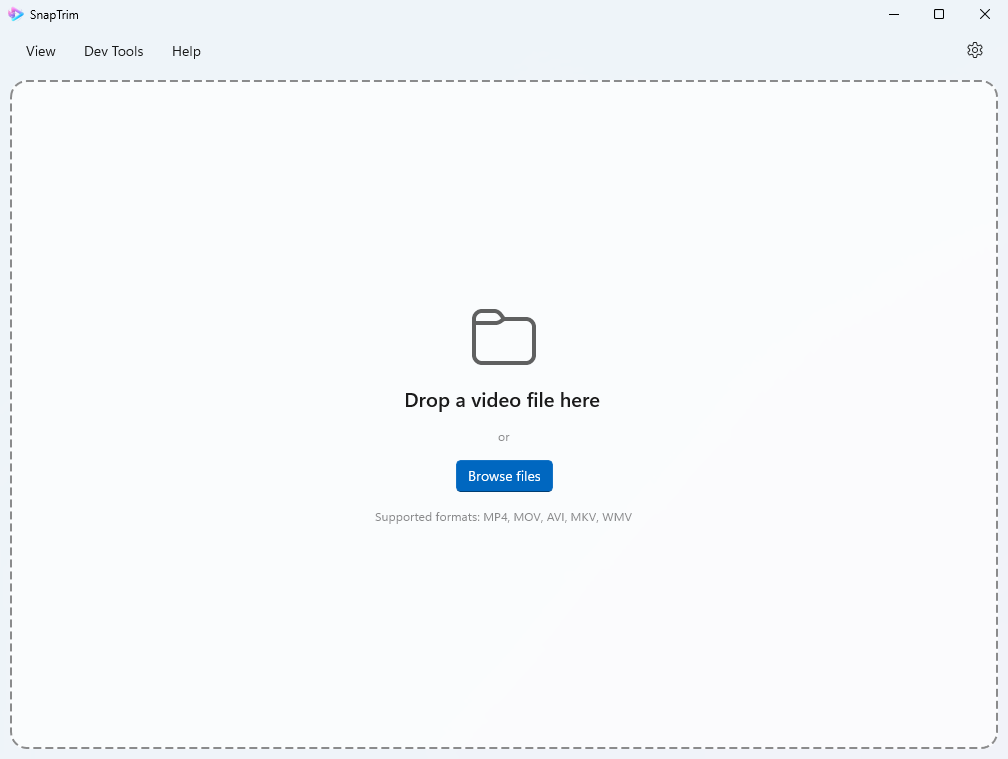
There are two ways to open a video in SnapTrim:
Method 1: Drag and Drop
- Simply drag a video file from File Explorer and drop it onto the SnapTrim window
Method 2: File Explorer Context Menu
- Right-click any video file in File Explorer
- Select Open with > SnapTrim
Your video opens in Preview mode by default — a clean, distraction-free view for reviewing your video before choosing an editing tool.
Step 2: Trim Your Video (Optional)
To remove unwanted sections from the beginning or end:
- Click the Trim segment in the mode selector (top of window)
- Drag the left handle on the timeline to set the start point
- Drag the right handle to set the end point
- Preview by clicking the play button
- Click Apply to confirm your trim points
After setting the trim start and / or end time, the red sections will show what portions of the video will be removed.
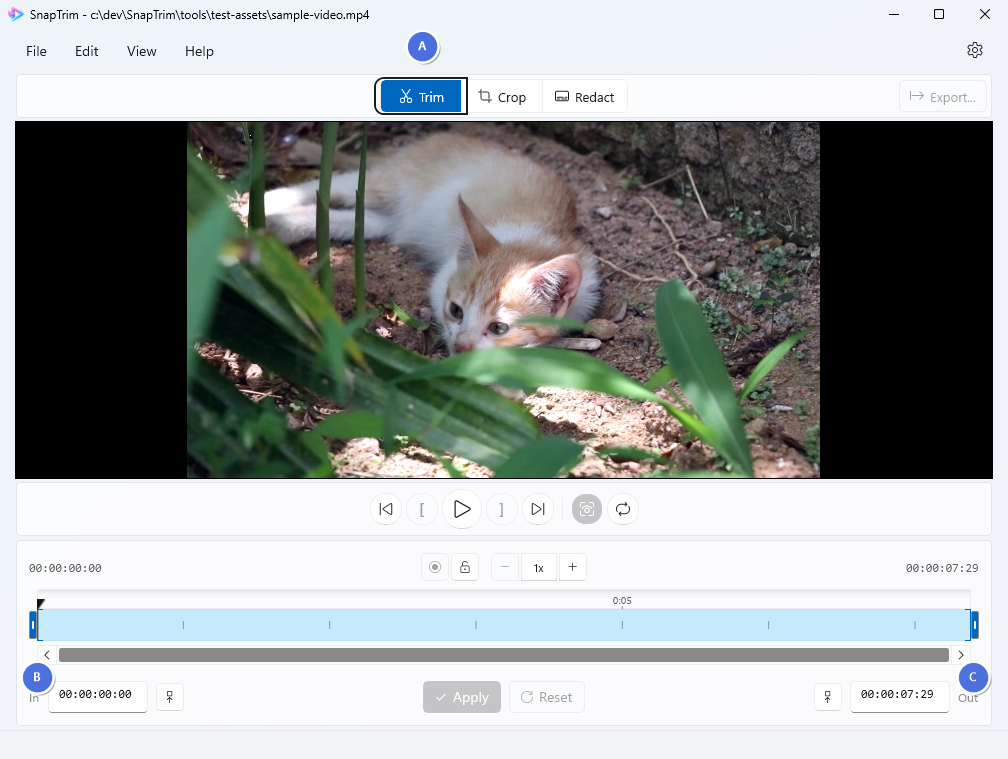
- A - Trim mode button (click to enter trim mode)
- B - Trim Settings panel (timecodes, set-to-playhead buttons, and apply/reset controls)
- C - Timeline with trim handles (drag to set where the video begins and ends)
For more complex edits, you can split the timeline into multiple segments to keep several non-contiguous portions and discard the gaps between them. See Trimming Videos for full details.
Step 3: Crop Your Video (Optional)
To crop or resize your video:
- Click the Crop segment in the mode selector
- Drag the crop handles on the video preview to select the area you want to keep
- Use the aspect ratio presets for quick social media sizes:
- 16:9 (Widescreen)
- 9:16 (Vertical/Stories)
- 1:1 (Square/Instagram)
- 4:3 (Standard)
- Fine-tune with the position and size controls
- Click Apply to confirm your crop settings

Step 4: Redact Your Video (Optional)
To hide sensitive information (faces, license plates, personal data):
- Click the Redact segment in the mode selector
- Draw a region on the video by clicking and dragging to create a rectangle
- Choose an effect type in the settings panel:
- Blur - Gaussian blur (adjustable intensity)
- Pixelate - Mosaic effect (adjustable intensity)
- Solid Colour - Fill with a solid colour
- Adjust intensity (1-100%) for blur or pixelate effects
- Set duration - Apply to the full video or a custom time range
- Add more regions as needed by clicking the + button
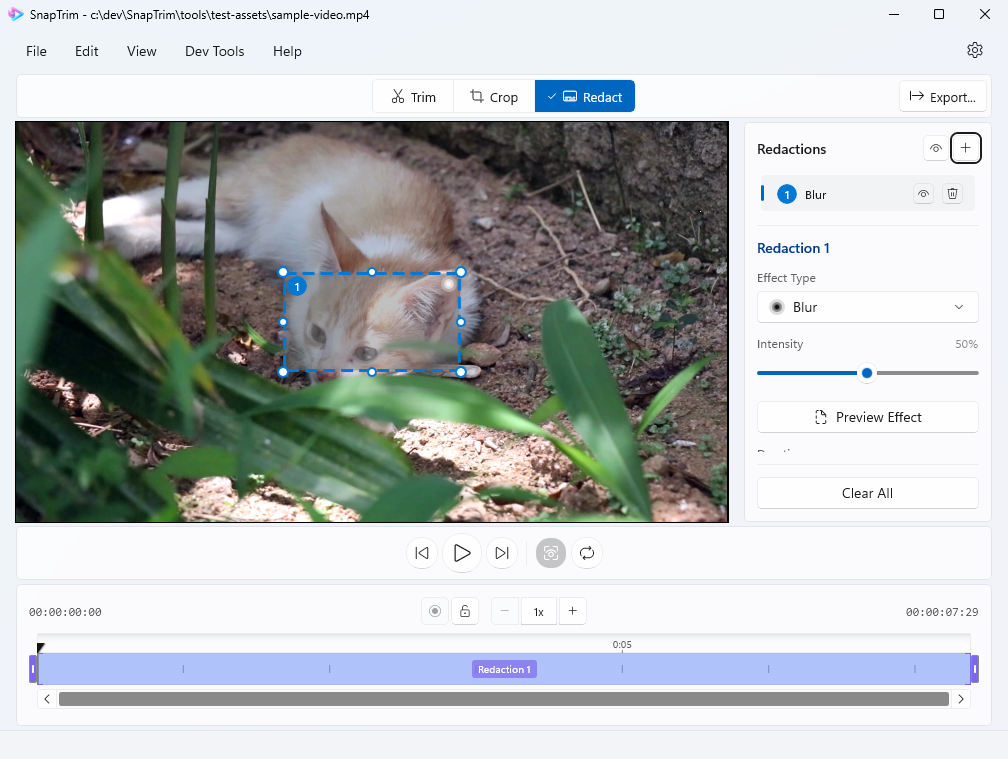
Redaction effects render live on the video as you adjust settings, so you can see exactly what your redactions will look like in real time.
Step 5: Preview Your Changes
Before exporting, you can preview how your edits will look:
- Trim and Crop: These are applied dynamically as you edit. The timeline updates to show only the trimmed portion, and the video preview shows the cropped dimensions in real-time.
- Redactions: Blur, pixelate, and solid colour effects render live on the video as you adjust settings. Navigate to different frames to check coverage.
Click the Play button to watch the video with your trim and crop applied. Make adjustments if needed.
Step 6: Export Your Video
When you’re happy with your edits:
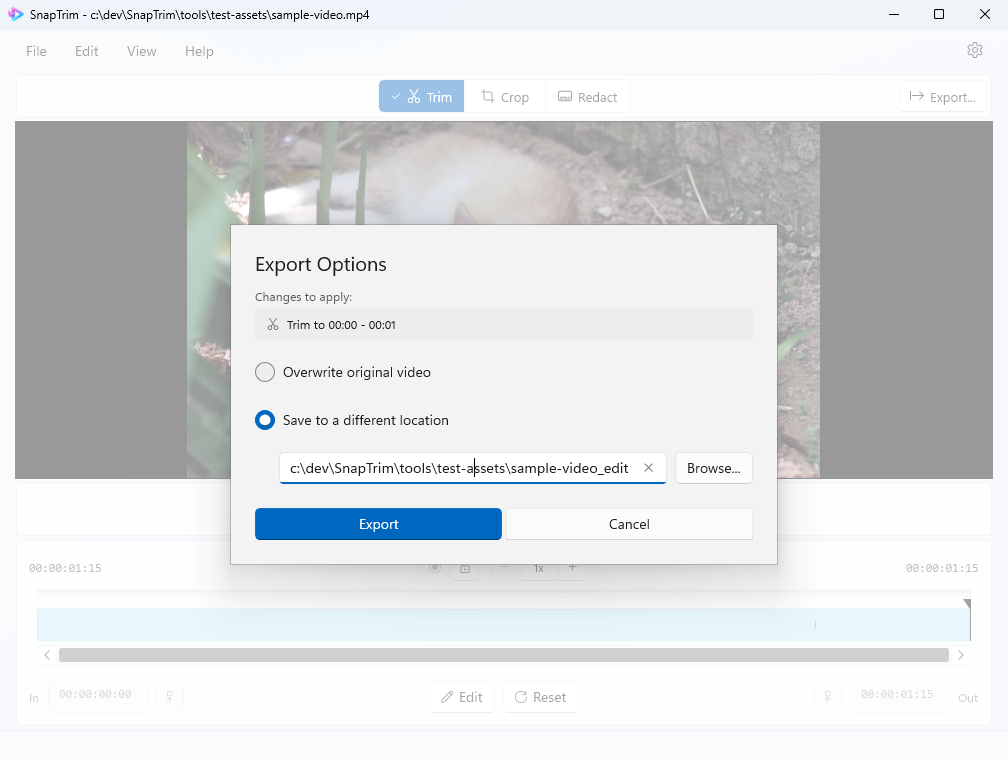
- Click the Export button in the toolbar
- Choose whether you would like to overwrite the original video, or choose an alternate destination folder and filename
- Review the list of changes to apply to ensure it’s what you expect
- Click Export
SnapTrim will process your video and save it to the chosen location. You can also export as an animated GIF or use Save Frame As Image (File > Save Frame As… or Ctrl+Alt+S) to save the current frame as a PNG.
Step 7: Done!
Your edited video is ready!
What’s Next?
Now that you know the basics, explore more features:
- Interface Overview - Learn about all the controls
- Trimming Videos - Master advanced trimming techniques
- Cropping Videos - Advanced cropping tips
- Exporting Videos - GIF export, save frame as image, and more